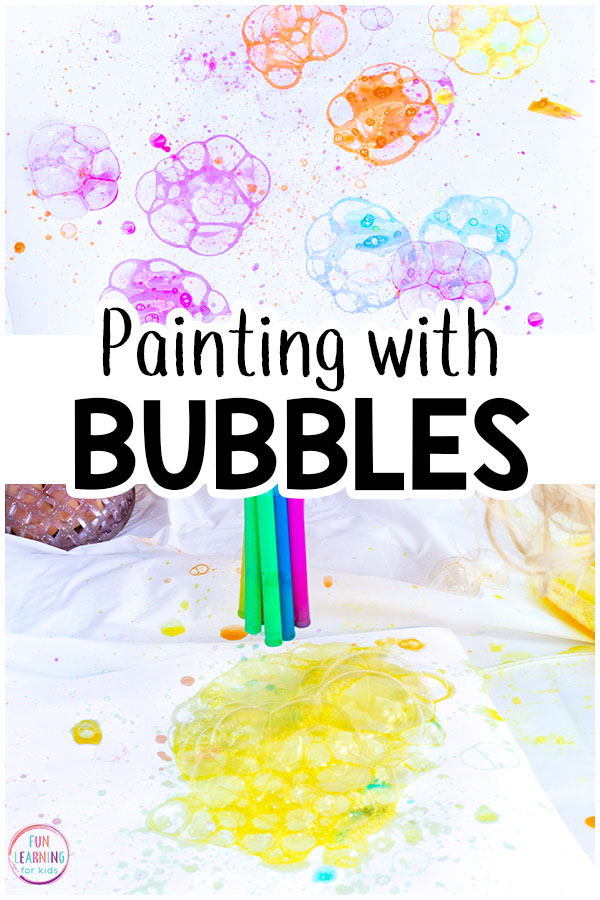
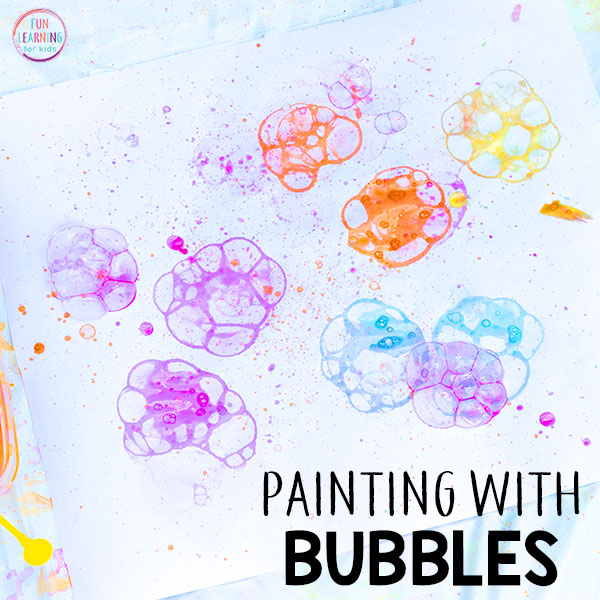
Bubble Painting Process Art Activity for Kids
Your kids will have a blast while doing this bubble painting process art activity! I think it’s the perfect art project for spring and summer. The kids agree!
So if you are looking for a fun outdoor art activity that the kids will love, painting with bubbles is sure to be a winner!
Bubble Painting
We are always trying out new process art activities and this one been one of our absolute favorites.
It was easy enough for my 4-year-old to do and we had lots of fun trying out different ways to blow bubbles on to the paper. Plus, the prints the bubbles left behind were so cool!
Your kids are going to love it!
Supplies Needed:
As an Amazon Associate I earn from qualifying purchases.
- Bubble solution
- Washable watercolors or food coloring
- Bubble blowers
- Large sheet of paper (I used easel paper)
- Straws and tape (optional)
- Tablecloth (optional)
*We used washable watercolors. Do not use this if you are worried about the paint getting in the kids’ mouths. Food coloring would be safer in that situation. I used washable watercolors because I find them easier to clean up than food coloring.
Setting Up the Bubble Painting Activity
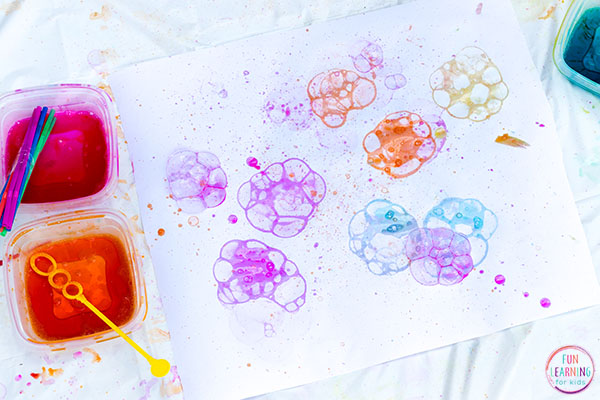
- Pour bubble solution into a shallow containers.
- Add washable watercolors to the bubble solution. Stir and check for vibrancy. Add more, if needed.
- Cut off a sheet of easel paper and lay it down on a tablecloth outside.
- Place the colored bubble solution on the tablecloth as well.
- Invite the kids to come paint with bubbles!
Painting with Bubbles
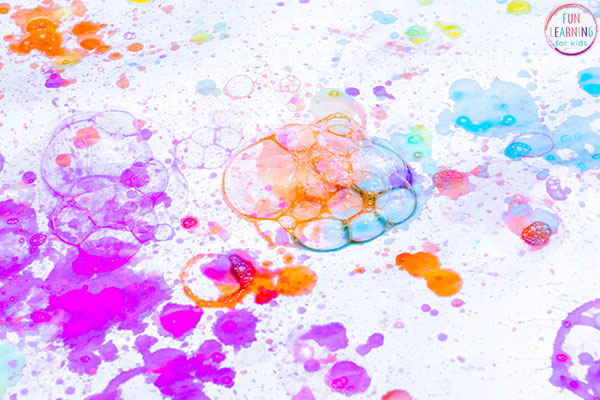
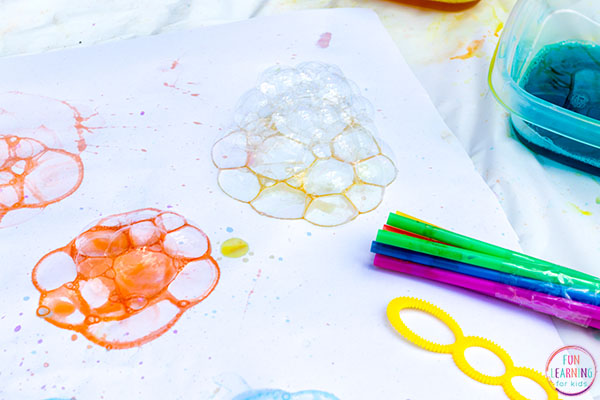
We started by blowing bubbles with the normal bubble blower that comes with the bubble solution. This made really cool circle prints on the paper.
It was a bit more difficult to make the prints actually land on the paper. They often blew away instead of landing on the paper. This was mildly frustrating for a 4-year-old, so we decided to try out the straw blower.
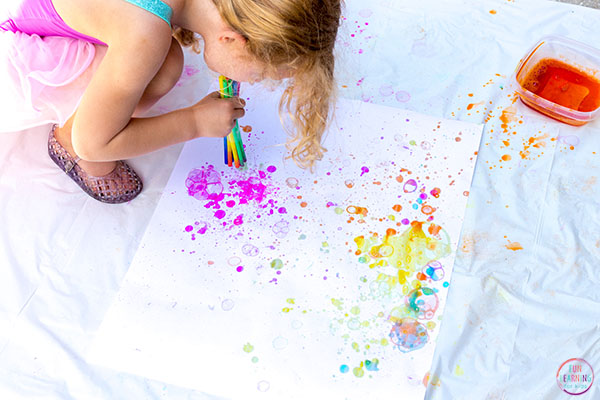
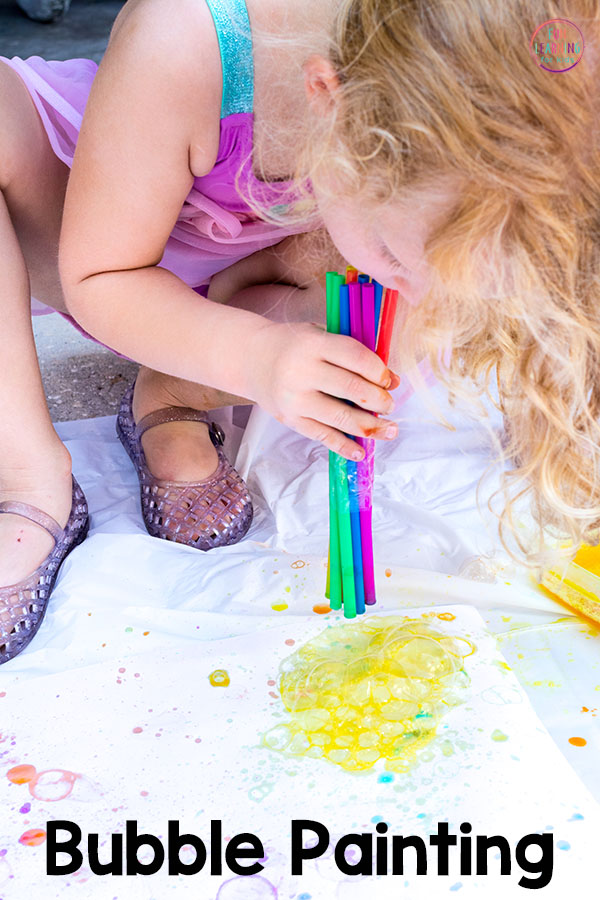
To make a straw bubble blower, we taped a few straws together in group. Then we dipped one end of the straws in the bubbles and then blew through the other end.
Make sure you make it clear that they don’t put their mouth on the straws while they are in the solution. Instead, they should wait until they are out of the solution and then blow through the straws and onto the paper. Make sure they know not to suck on the straws.
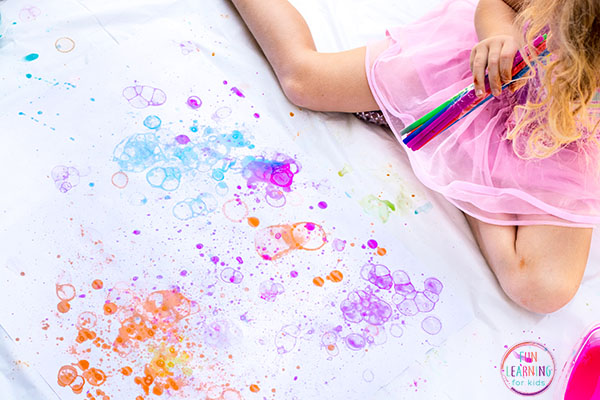
My daughter loved using the straw blower because it made big puffy bubble clusters on the paper.
We love how the paintings turned out. They were so cool and colorful!
Your kids are going to have a blast doing this!
Looking for more fun art activities? Check these out!
Easy Painting Fireworks Craft with a Dish Brush
Preschool Art Activity: Washable Painting on a Shower Curtain