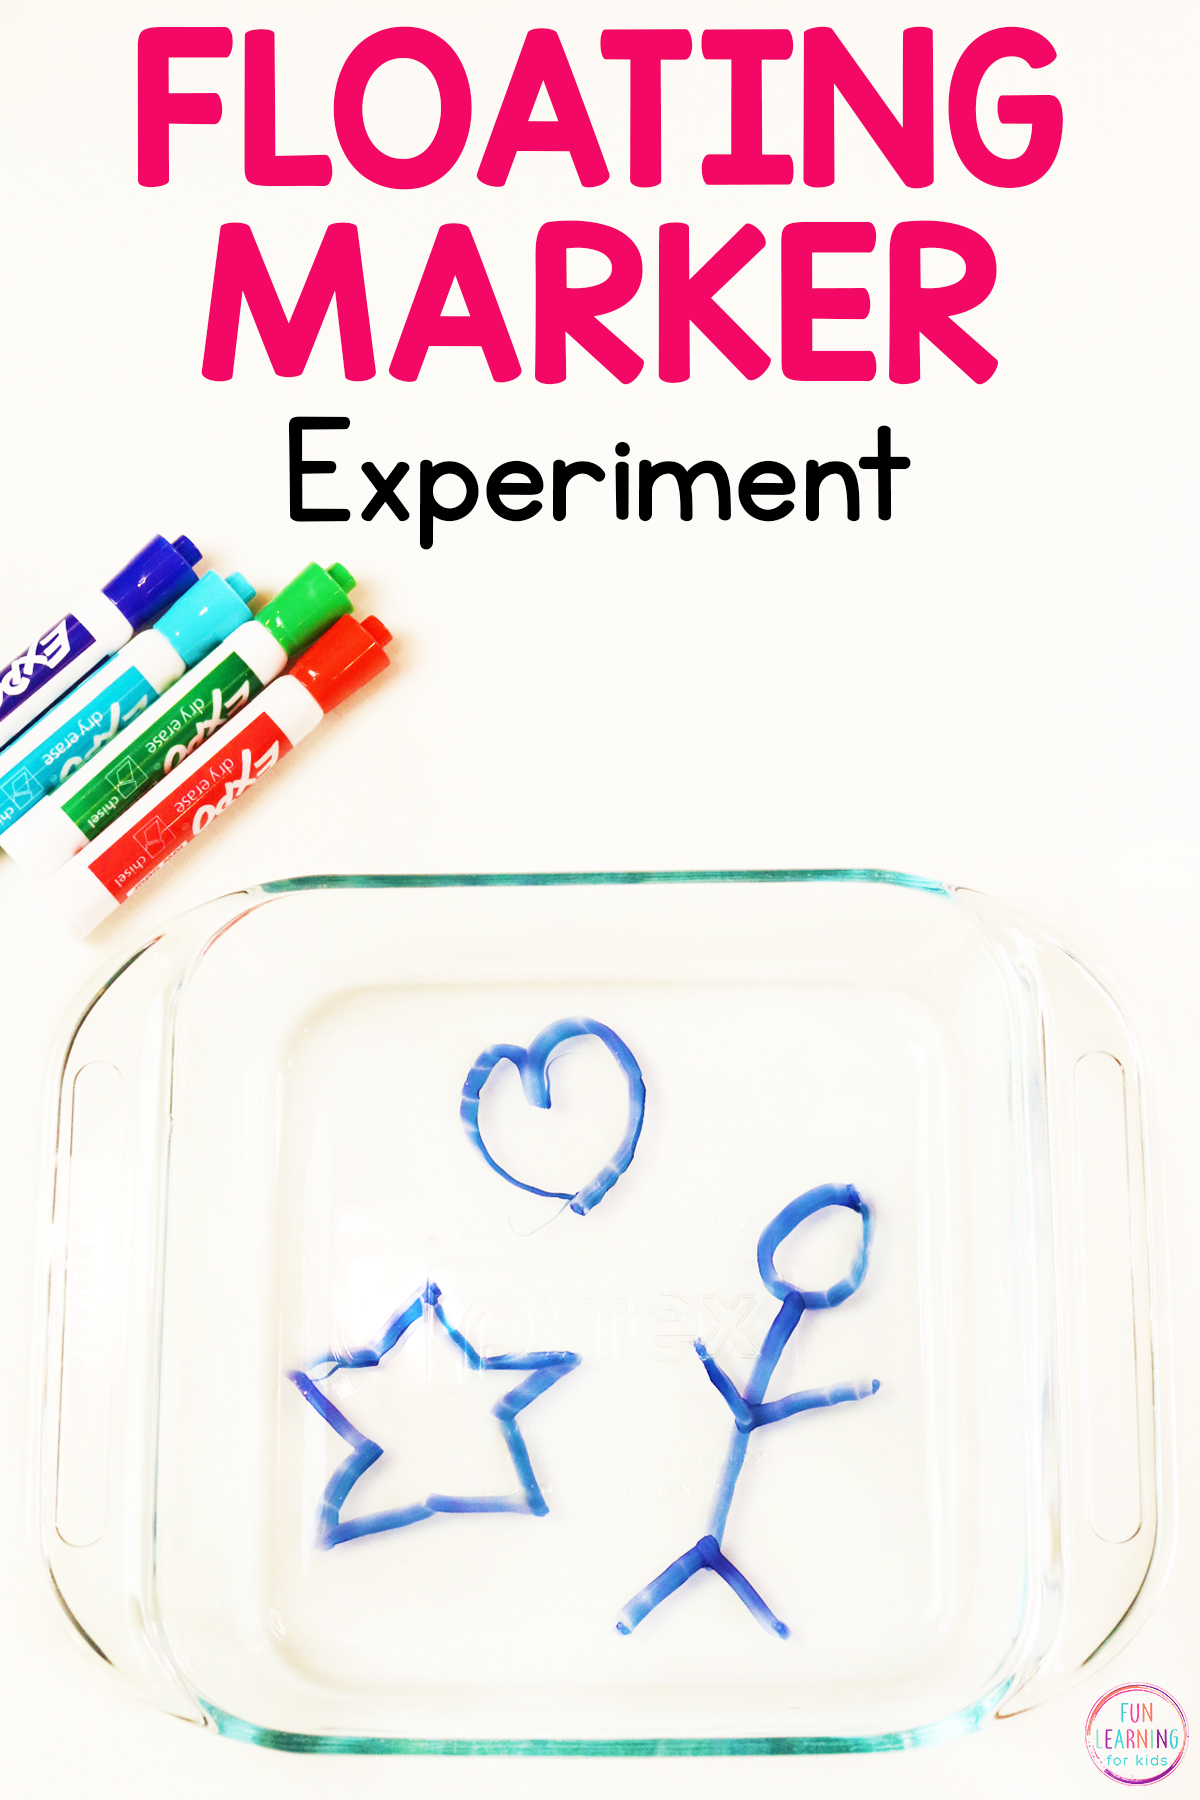
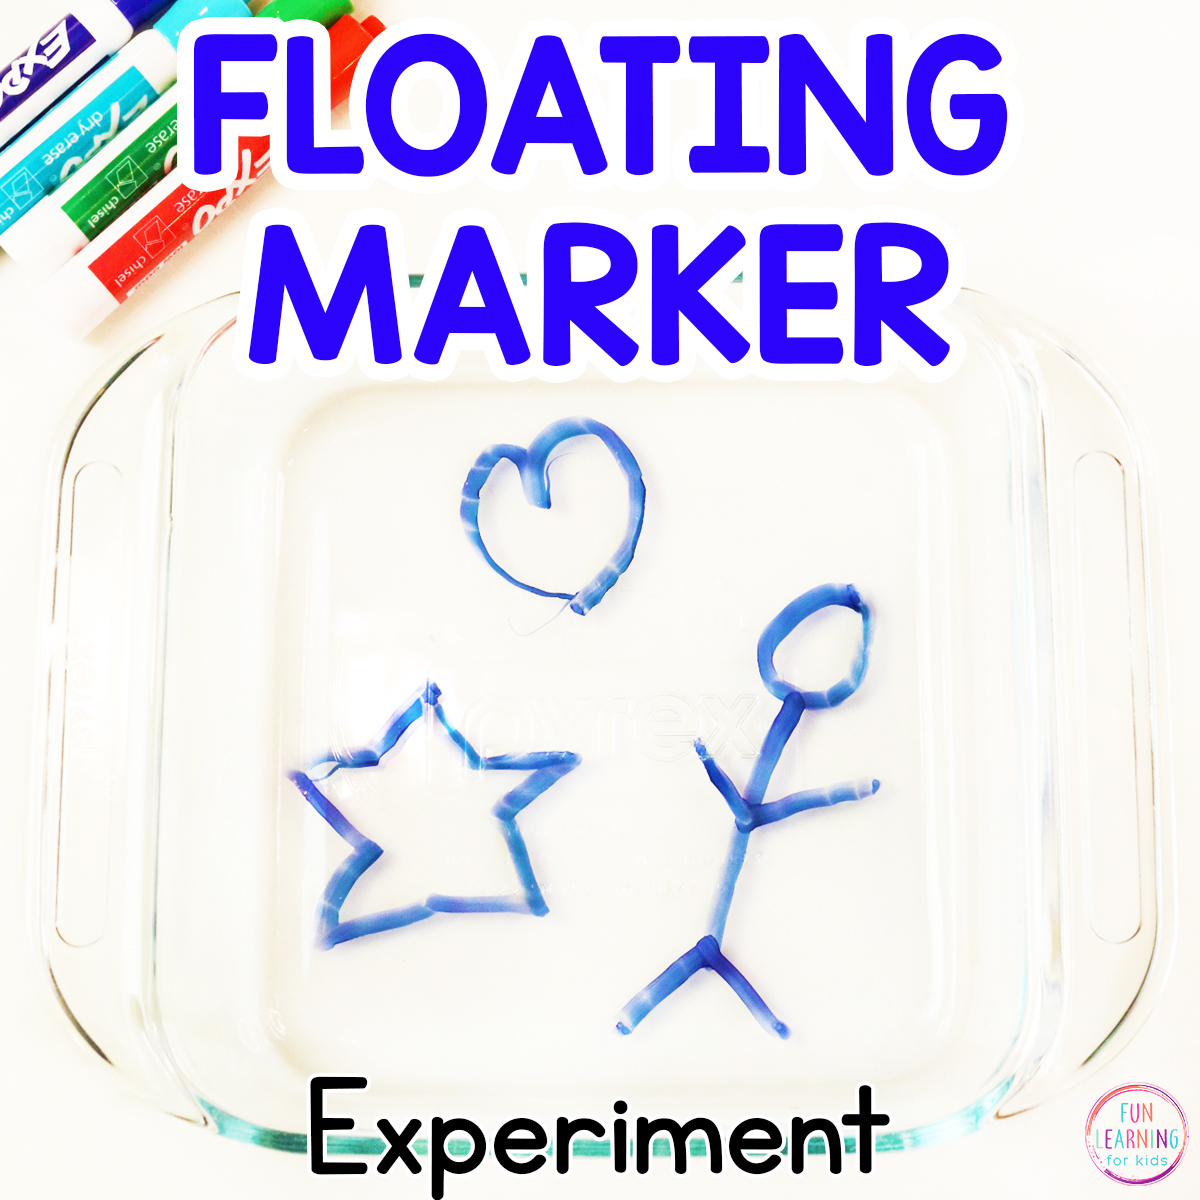
Floating Dry Erase Marker Science Experiment
This floating dry erase marker science activity is incredibly fun! All you need are dry erase markers and water! Read on for instructions and tips. Your kids will have a blast with this science experiment!
Floating Dry Erase Marker Science Experiment
This simple science experiment is a favorite for our kids. Your kids will love trying out different combinations of colors and drawings. It’s super easy to rinse out and then try a new variation.
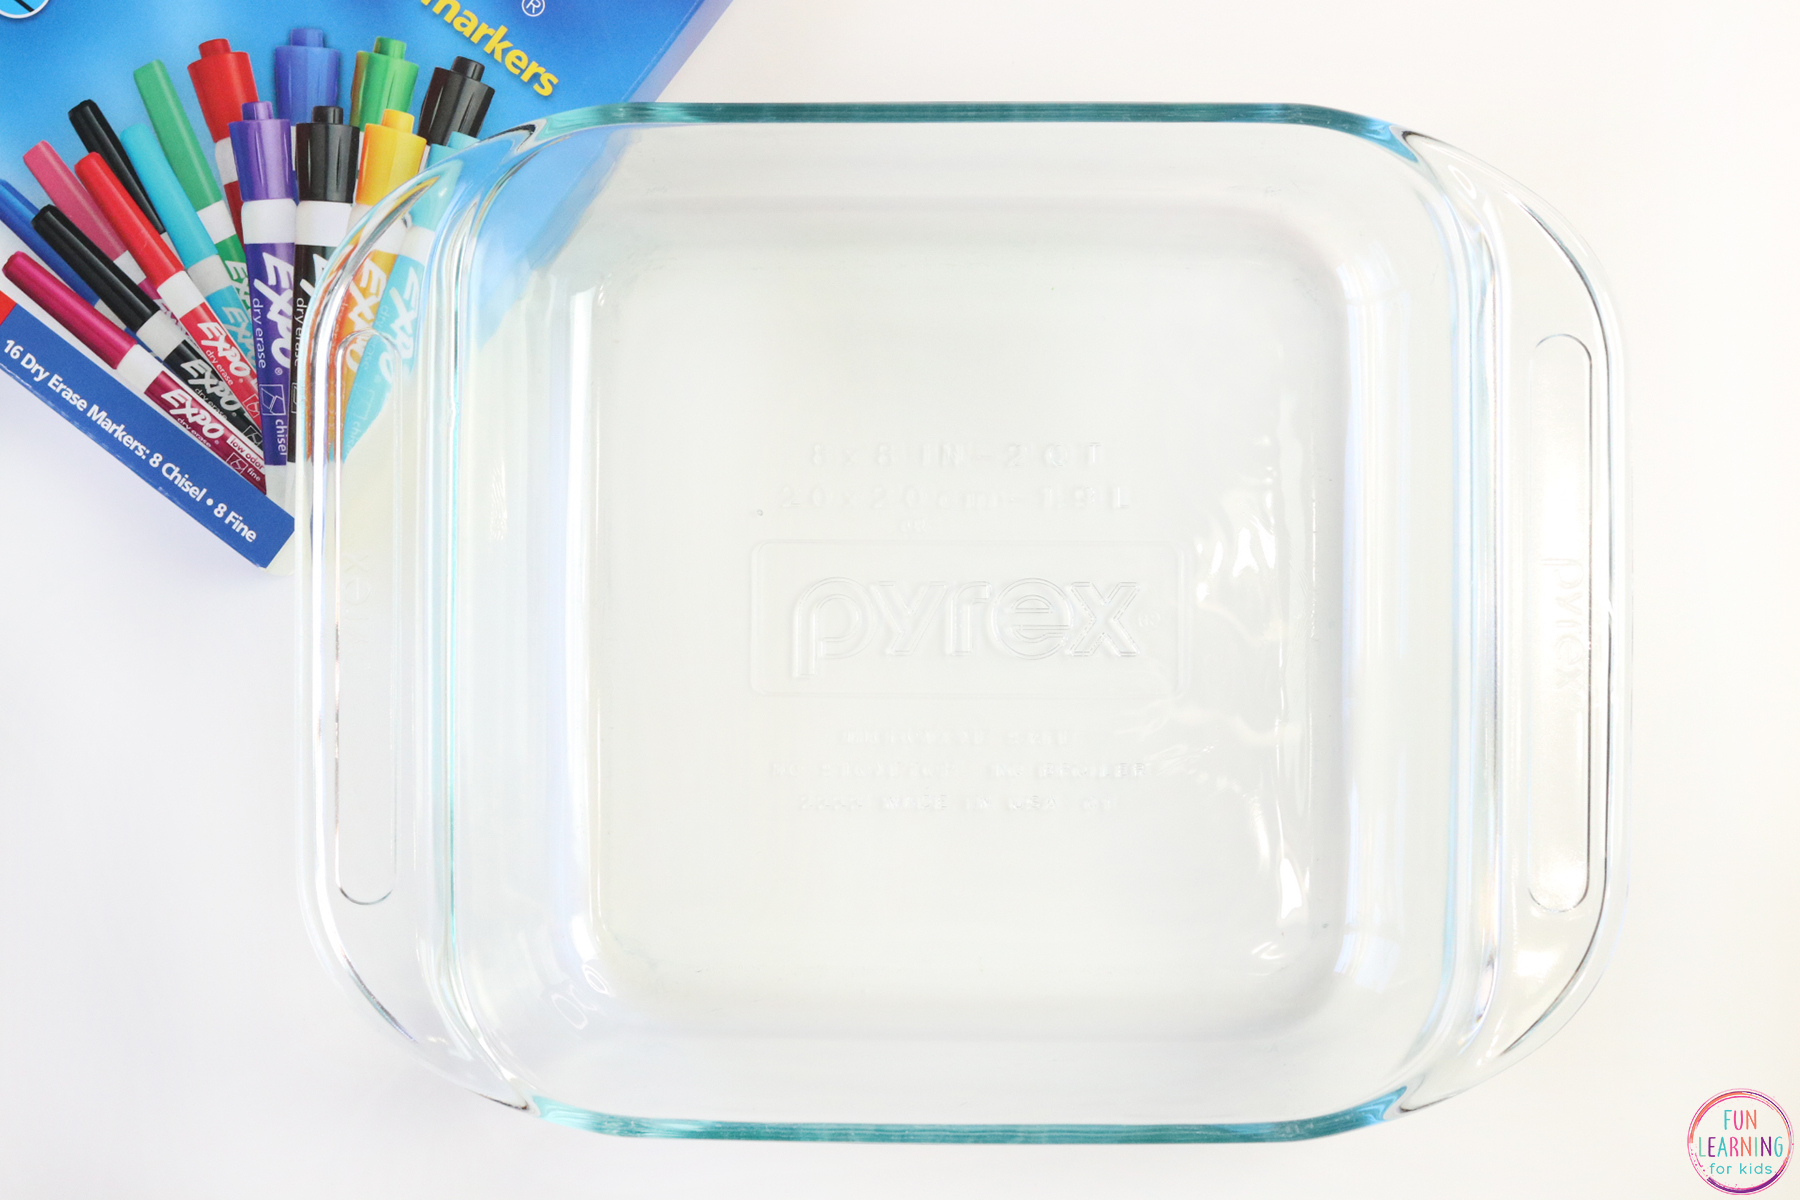
You just need these 3 simple supplies – a bowl, water and dry erase markers.
*Note: This should be done with adult supervision at all times.

Setting Up the Floating Dry Erase Marker Science Activity
As an Amazon Associate I earn from qualifying purchases.
Supplies Needed:
- Bowl or Dish with a flat bottom
- Water
- Dry Erase Marker
Instructions:
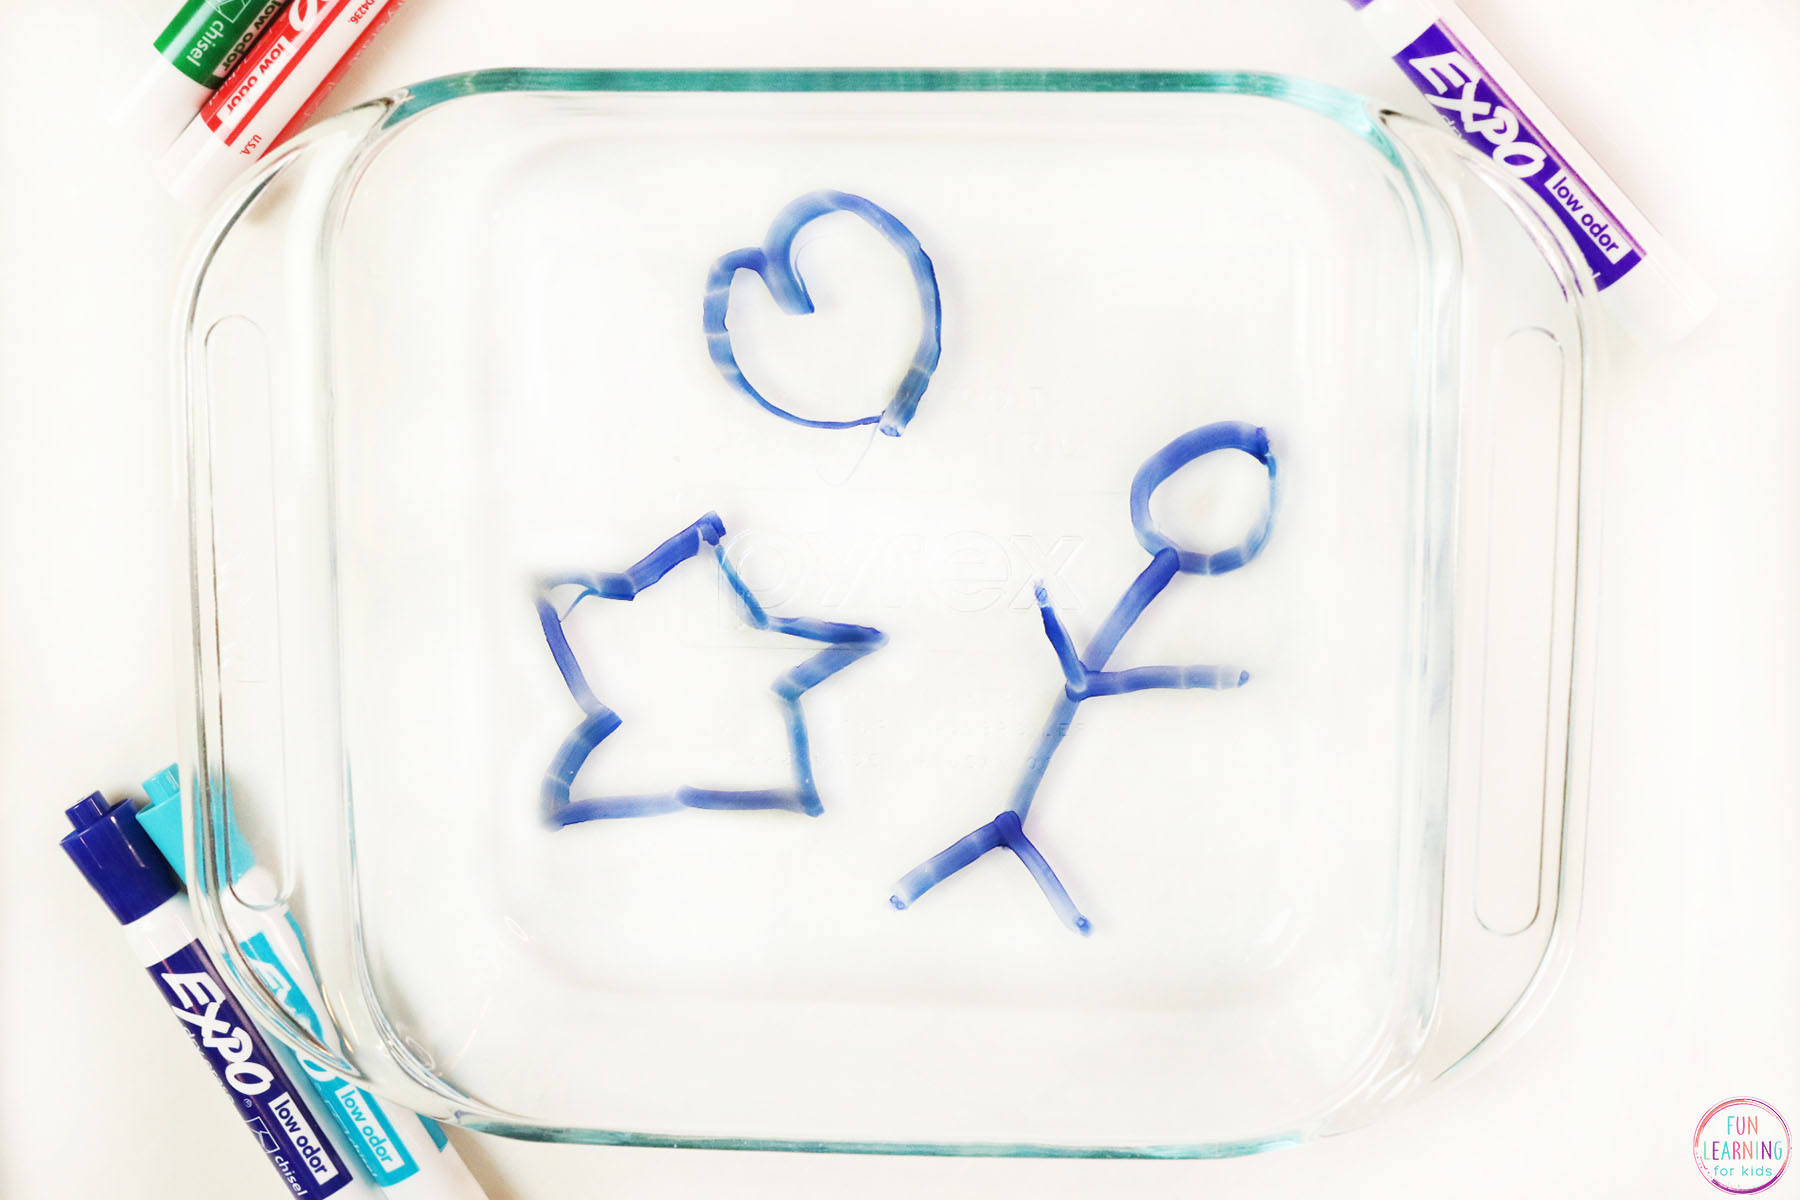
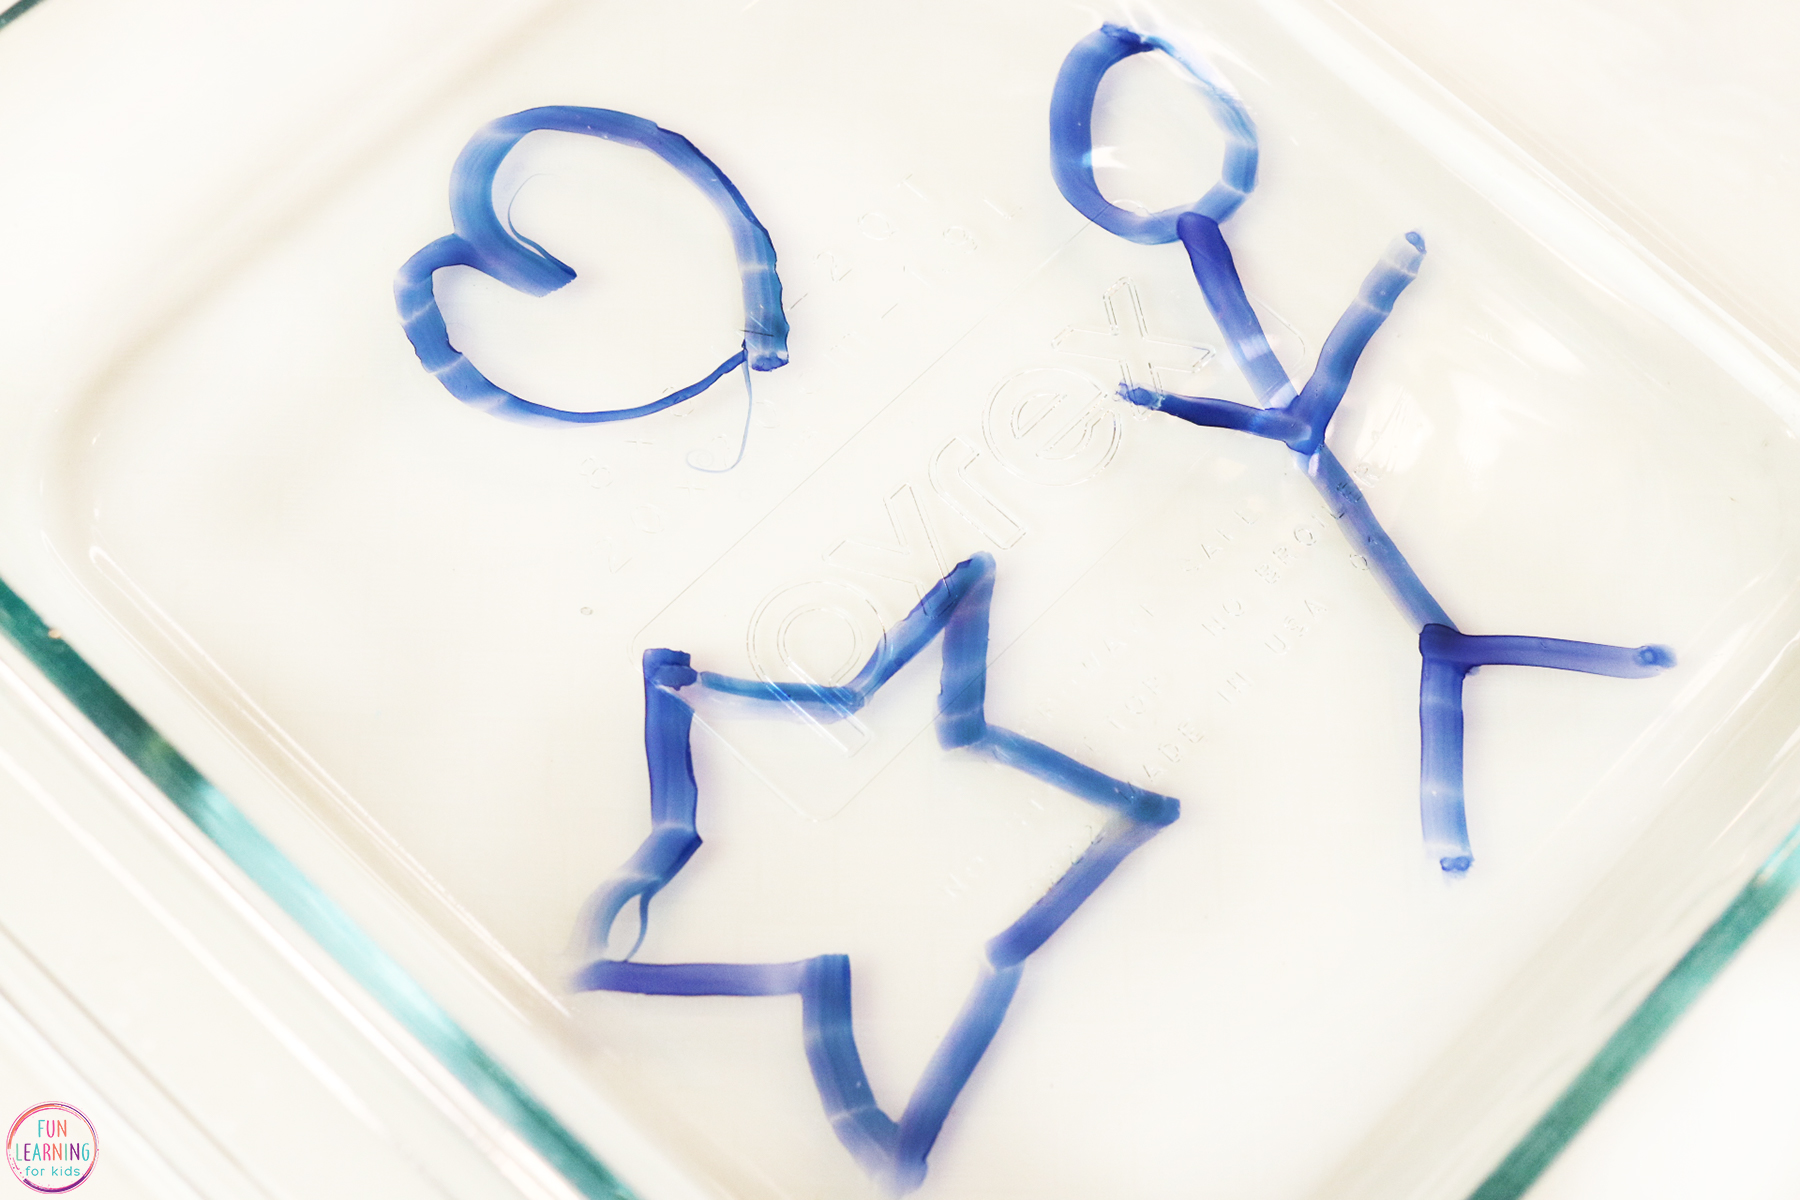
- Grab your bowl and draw a design or write letters on the bottom with your markers!
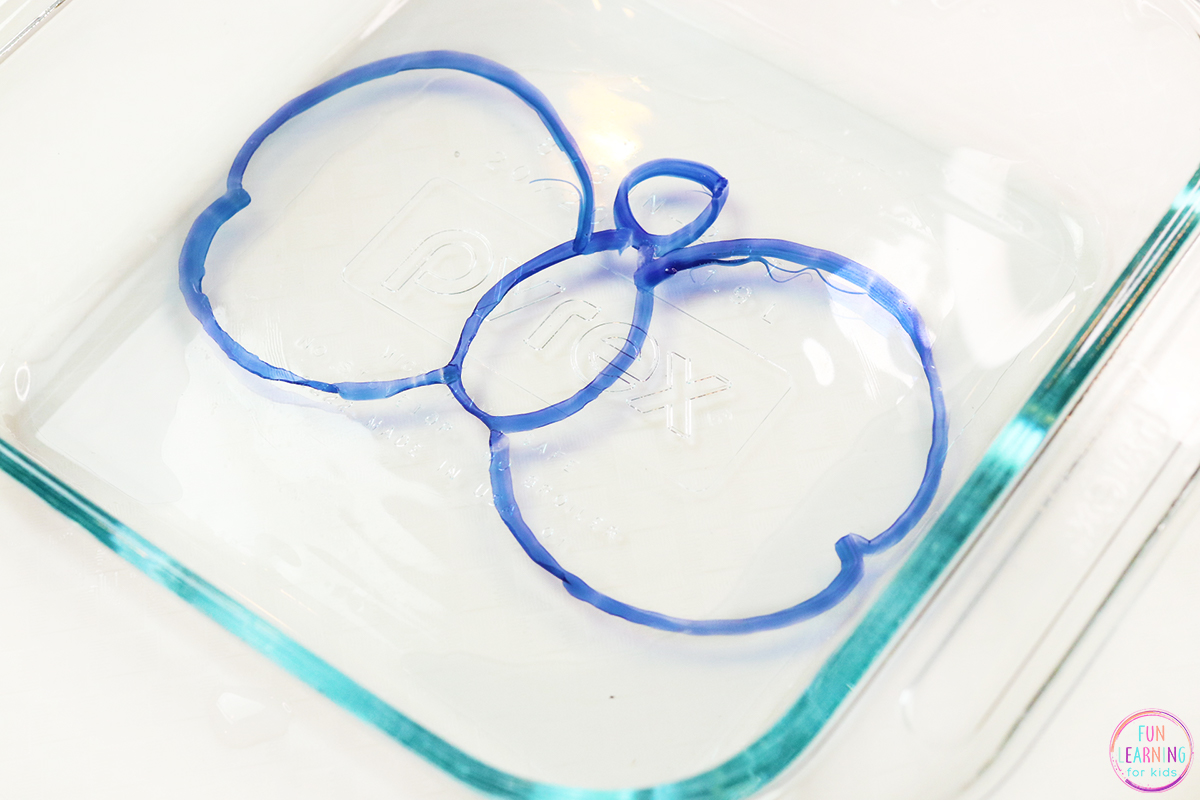
- Gently pour your water into the bowl. You can pour near the edge or in the center slowly and that will be enough to get the ink to lift up. If the marker doesn’t lift up, you’ll want to pour it closer to the ink to help force it up.
- Pour a small amount initially. Once you see the ink start to lift up, wait and the rest of the drawing or letter will lift up too.
- That’s it! Your kids will have fun moving the bowl around and watching the ink designs float around the water!
Video of Floating Dry Erase Marker Experiment
Tips
- Some colors worked better for us than others. This will be different for every pack. For our pack, the blue worked great. It lifted up no problem. Other colors, like red, stuck to the bottom more and took more force from the water to lift. Lighter colors like green and yellow would disintegrate with any force from the water. So experiment with different colors to find what works best for you.
- The less water you use initially, the better. We found using less water and waiting for the rest of the ink to lift up our shapes worked well. When we used more water the ink didn’t lift as well. Once the ink is floating feel free to add as much water as you like. Carefully though, as you don’t want the ink to break apart.
- Some designs worked better than others. Shapes with more lines like letters and stick figures worked great. Closed designs like a heart or circle had a harder time lifting from the bottom.
- Use new dry erase markers.
Floating Dry Erase Marker Variation
Another fun option to try this experiment is to use a spoon. In this version, simply fill the bowl with water and then draw your design on a metal spoon. Then dip the spoon in the water and the design will peel off and start floating!
The Science Behind this Floating Dry Erase Marker Experiment:
Dry erase markers contain an oily silicone polymer, which facilitates easy removal of the ink from nonporous surfaces like whiteboards or glass. This polymer imparts slipperiness to the ink, preventing it from adhering to the whiteboard. In contrast, permanent markers utilize an acrylic polymer that encourages ink adhesion to the surface.
When you draw with your dry-erase marker, the silicone polymer will prevent it from sticking to the bottom of your tray. The water can then slip underneath, and because the ink is lighter than water it will float.
I hope your kids have a great time with this fun floating dry erase marker science experiment!
Check out these other science experiments and activities for kids.
Your kids will really love watching the fun reactions in this Fireworks in a Jar experiment!
This rainbow Walking Water Science Experiment is one of our most popular experiments!
This fun color changing flowers experiment is always a hit!