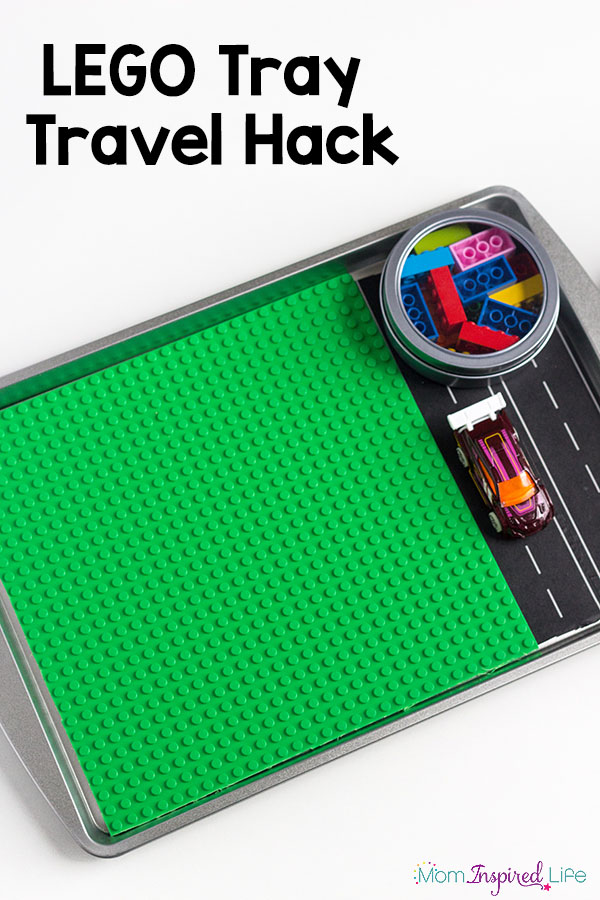
LEGO Tray Travel Hack
This LEGO tray travel hack is perfect for long road trips, airplane flights or even just for fun on the go. It’s super affordable and very easy to make too!
We are going on a long road trip this summer and the kids are super excited about it. I am too, but I am also a bit apprehensive about how it will go. My kids get antsy very quickly and like to move… A LOT. So I had to come up with some fun travel activities to keep them occupied. It’s for my own sanity as much as it is for theirs.
So I headed to the dollar store to look for little things I could buy and then pull out during our trip when needed. As I was browsing I came across these nifty magnetic containers. I thought they might be good for holding snacks or small pieces in the car. I could stick them to a small cookie sheet the kids could use them on their laps. I even found a small cookie sheet for $1 too!
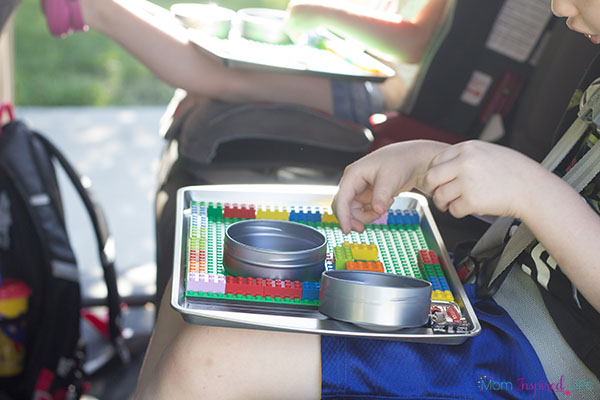
As I was thinking about what I could put in them for my son, it dawned on me. LEGO! I could put LEGO bricks in the containers. But not only that. I could glue a LEGO baseplate to the cookie sheet and he could easily build while we were driving! I knew it would be perfect for him.
When I got home, I came up with the idea to add some road tape to the tray and put two matchbox cars in one of the magnetic containers as well. Now the tray was even more awesome!
LEGO Tray Travel Hack Tutorial
Supplies needed to make the LEGO tray:
As an Amazon Associate I earn from qualifying purchases.
- Magnetic containers (you can get them at Dollar Tree)
- Small magnetic cookie sheet (also at Dollar Tree)
- A small green baseplate
- Sharp scissors (to trim the baseplate down to size)
- Road tape (optional)
- Matchbox cars (optional)
How to make the LEGO travel tray
- Cut the LEGO baseplate down so that it fits on the cookie sheet. Depending on the size of your cookie sheet, you will have to take about an inch or two off of the bottom.
- Use removable double-sided tape like I did or glue dots to adhere the baseplate to the cookie sheet. You can just lay it on the cookie sheet without adhering it as well. And you could also use hot glue if you want it to stay on permanently. Make sure you leave room for the magnetic containers.
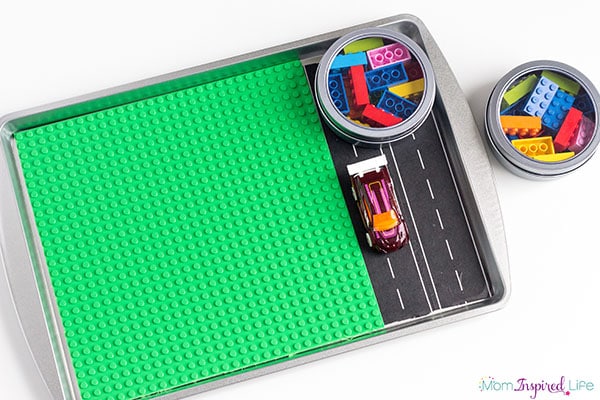
- Add road tape to the space where the magnetic containers are, if you would like.
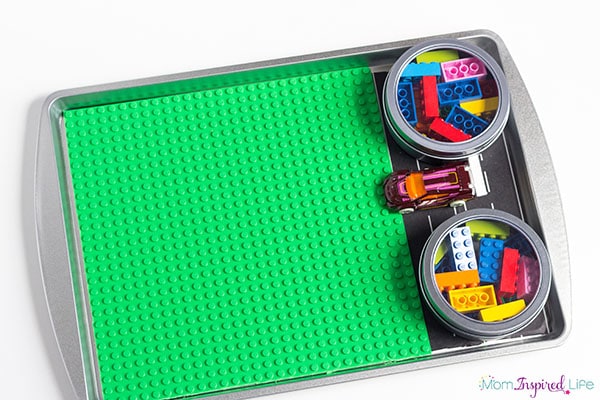
- Place the magnetic containers on the space next to the baseplate. Don’t forget to fill them up with LEGO pieces first!
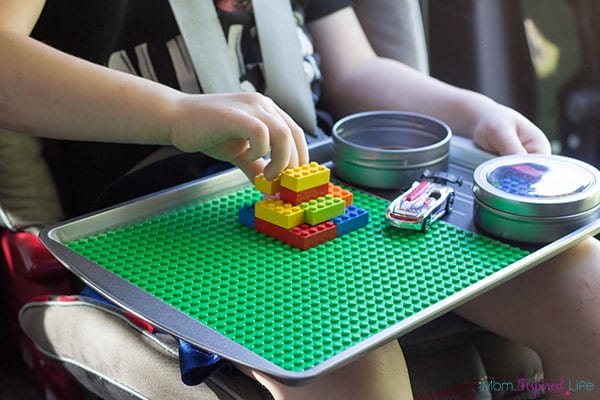
Playing with the LEGO Tray
My son absolutely loved it, but so did my daughter. So I quickly bought another baseplate and made her a LEGO travel tray as well.
My son really likes that I added the road tape because he likes to pretend it is a city and the baseplate is the grass. Obviously, the car doesn’t have very far to drive on such a small area, but for him it adds to the overall fun of the tray.
My daughter even uses her small little dolls on the baseplate area of the tray as well.
I guess they treat it like a neat little small world for their toys.

I know these LEGO trays will keep the kids occupied for some time during our road trip and I like that we can use them again and again for other travel adventures we go on.
Disclaimer: LEGO® is a trademark of the LEGO Group of companies which does not sponsor, authorize or endorse this site.